To add a title attribute to a WordPress menu item, you need to follow the steps below.
First, you need to access the menu page through this path Appearance >> Menus. You can see this option in the left sidebar of the admin dashboard
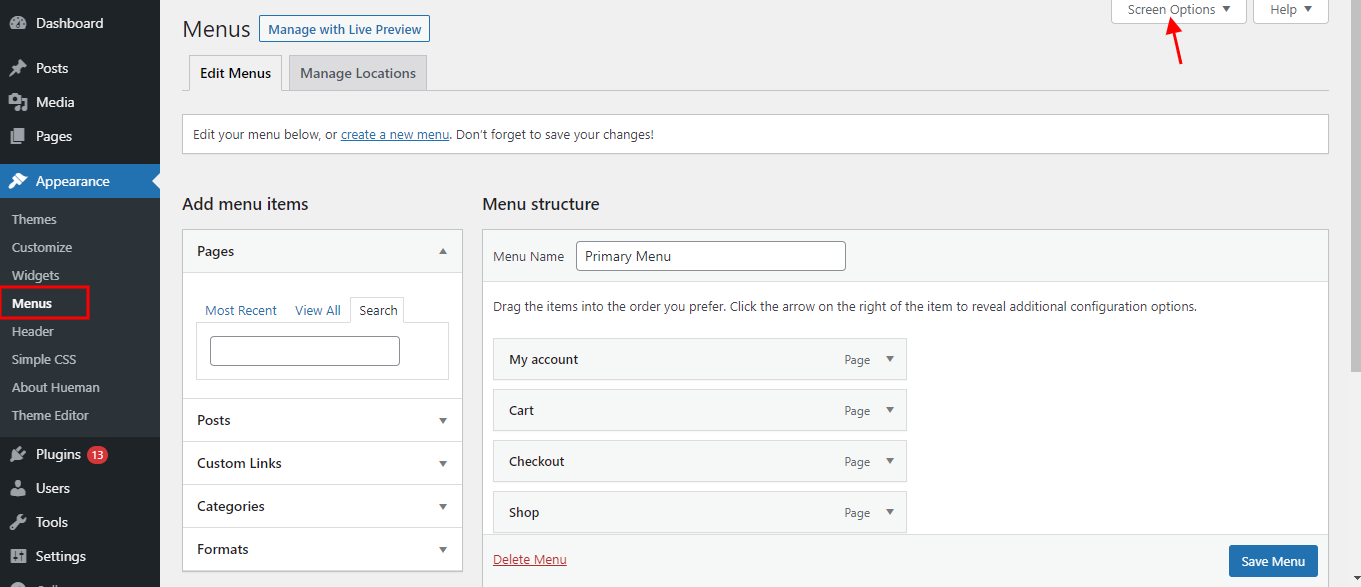
On this menu page, you will see the screen options tab in the upper right corner. So click on this tab and it will expand down the settings panel where you can see many options
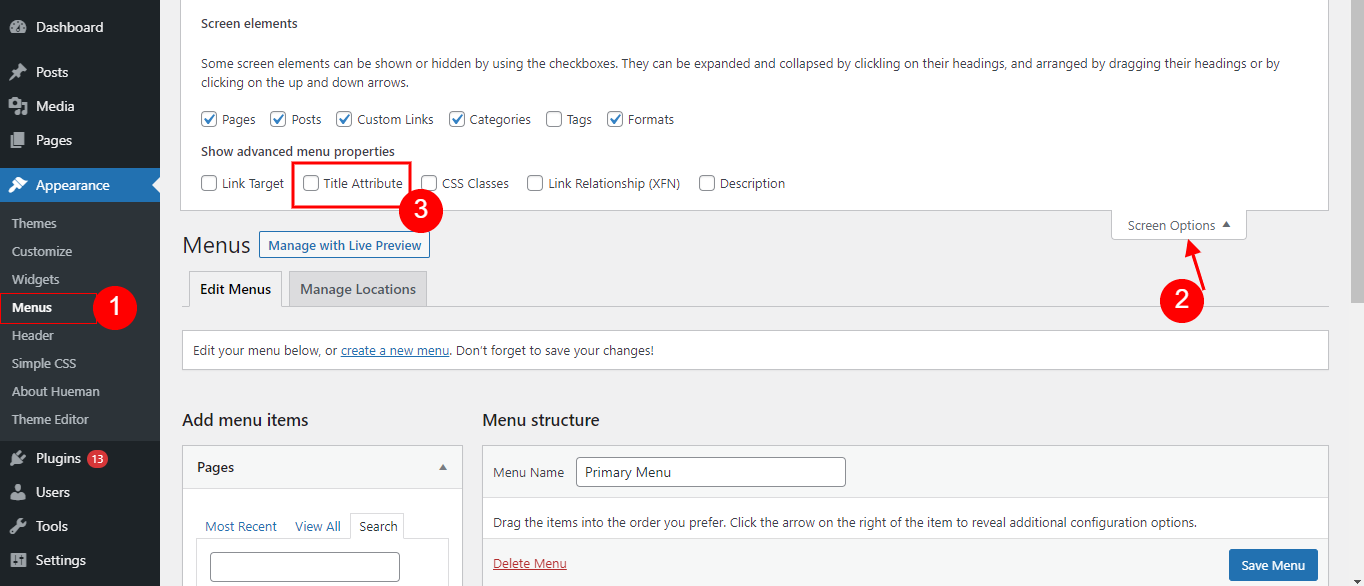
From these settings, you must check the Title Attribute check box. See the settings in the image below
When you select the title attribute check box, you will see additional options in the menu item. Now it will allow adding a title attribute to each WordPress menu item
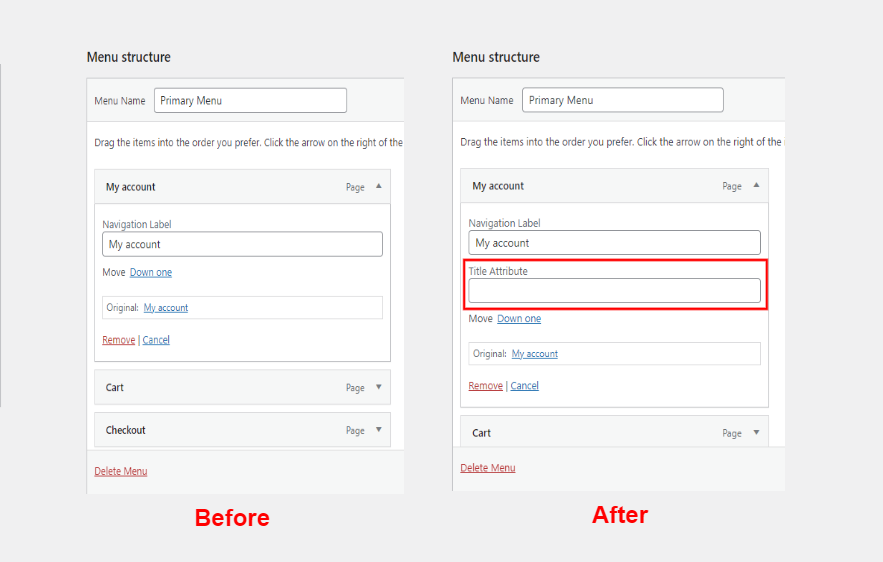
Therefore, in this field, you can add a title attribute to display additional information about the menu link, such as the content of the link. And which page it refers to when the user clicks on it
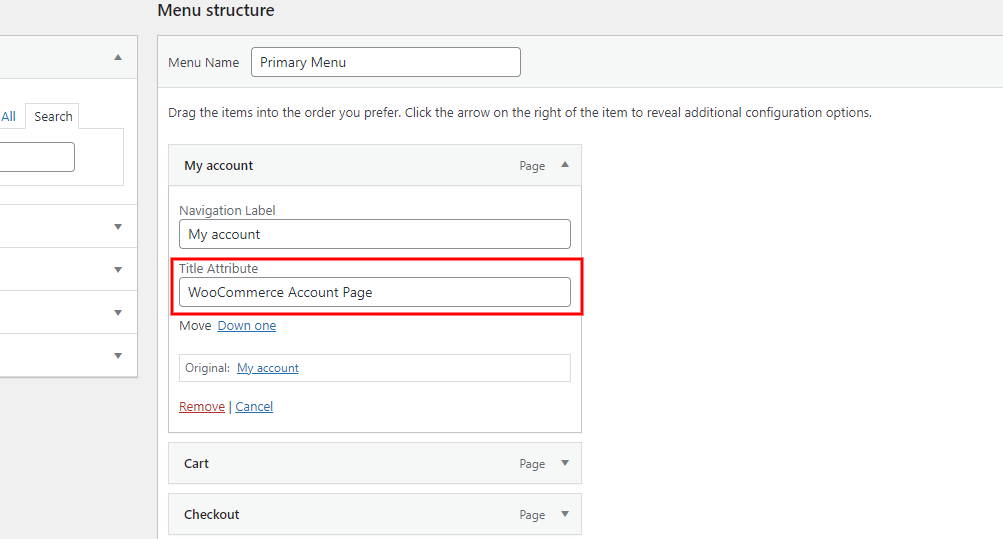
In the image below, the menu label is My Account. So, through this tag, users will be confused about what the link is? Is this a WordPress account or a WooCommerce account or a member account?
We need to add a title attribute to tell what the link is about. I added the image below as an example
Add the title attribute to all menu items, then click the "Save Menu" button to save the changes
You can test on the front end. Visit the website and move the mouse over the menu item. You will see the title attribute description displayed as a tooltip


Post comment 取消回复