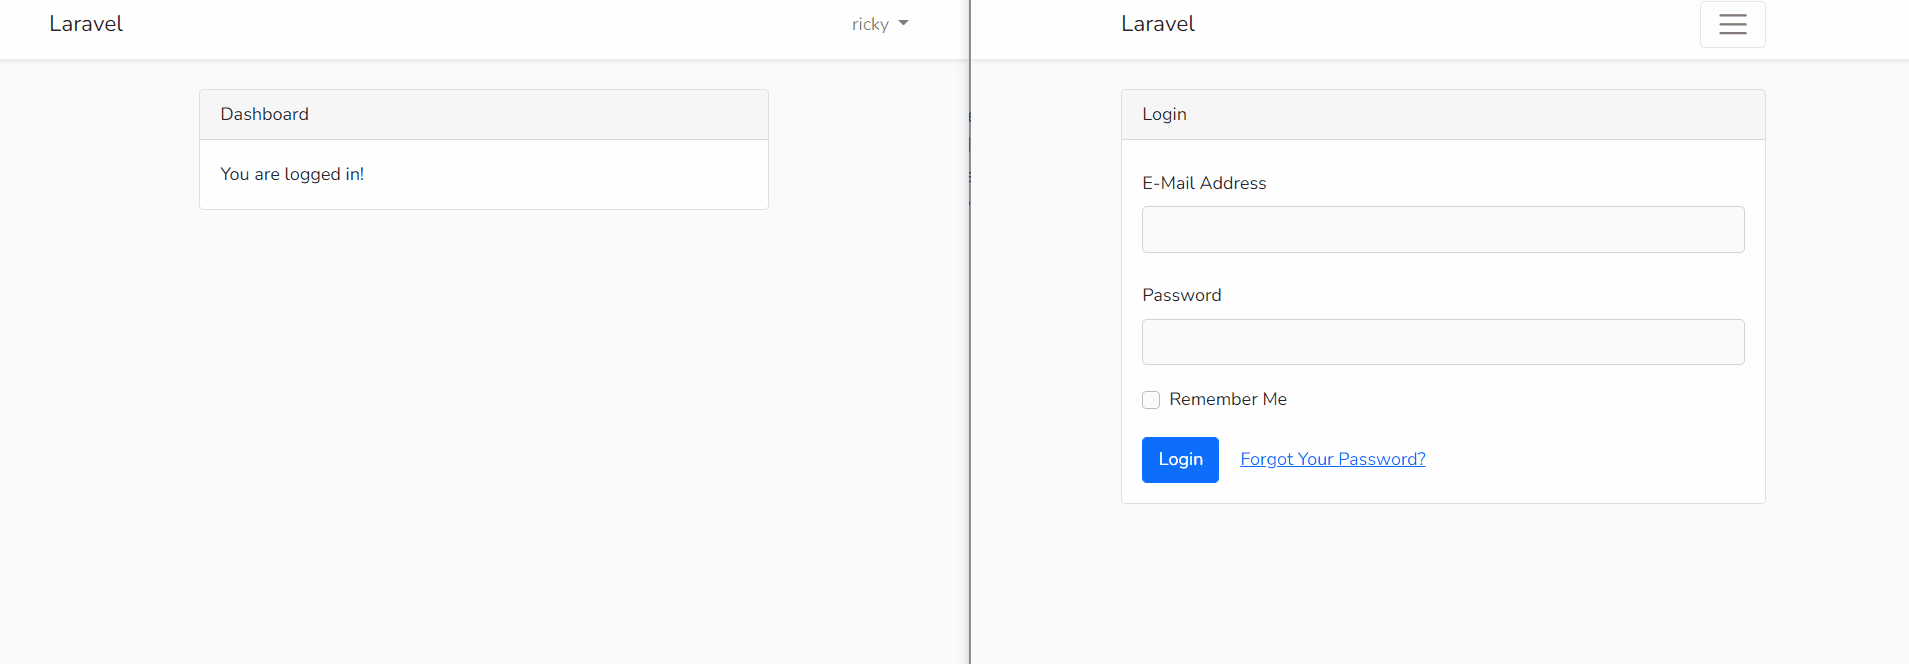
Demo
Ready to work
What is the role of single user login?
Single user login can protect the rights of the website and the security of the user's account.
From the perspective of the website: If a webmaster creates a content website with a membership payment mechanism, he certainly does not want users to share their accounts with others, which will affect the website's revenue.
From the user's point of view: For applications like QQ, when other devices log in to your account, you must override the previous account and send a notification to tell the user that the account is logged in elsewhere, which may be Risk of theft.
Let's implement the single-user login function together!
Create an application
composer create-project laravel/laravel single-user-login --prefer-distimplement
composer installAdd the front-end template, we only use it in the development environment, because the formal production environment is a packaged front-end file, and there is no need to load this package, so we add the --dev parameter.
composer require laravel/ui --devIntroduce Vue
php artisan ui vueInstall front-end dependencies and compile
npm install && npm run devIf you encounter the following error:
Error: Cannot find module'webpack/lib/rules/DescriptionDataMatcherRulePlugin'Try to upgrade vue-loader
npm update vue-loaderNow the front-end files should be compiled successfully, because we need to write some front-end code, so we need to configure laravel mix to make the development process smoother.
Open the webpack.mix.js file in the root directory of the project:
mix.js('resources/js/app.js','public/js')
    .vue().version() // add .version() to avoid caching
    .sass('resources/sass/app.scss','public/css');

mix.browserSync({
    proxy:'single-user.test' // your local project address
});
We use broswerSync so that we don't need to go to F5 to refresh the page every time we change the front-end code.
Execute again
npm run watchAt this time, your browser should automatically open the project address, and it will automatically refresh every time you modify the front-end code.
Everything is ready, we only need to focus on the development part.
Function realization
Ensure that only one user is logged in for an account
When a user visits a website, a Session will be established with the website, and the SessionId will be stored in a Cookie, which is used as a credential for the user's session.
The principle of single-user login is: after the user logs in, destroy all the
Sessionsestablished by the user before communicating with the website.
Let's implement it together!
Open the .env file, and we will change the SESSION_DRIVER to databse. The advantage of this is that each session with the user can be used for data analysis, user geographical distribution, user access equipment and other client information.
...
SESSION_DRIVER=database // Modify to database
SESSION_LIFETIME=120
...
Assuming that you have configured the database, since we want to store session in the database, we also need to create a sessions table, which Laravel has prepared for us very intimately.
Excuting an order:
php artisan session:tableLaravel has already generated the migration file for us, we just execute the migration command to create the data table
php artisan migrateUser login
Let's complete the user login function and execute commands to create scaffolding
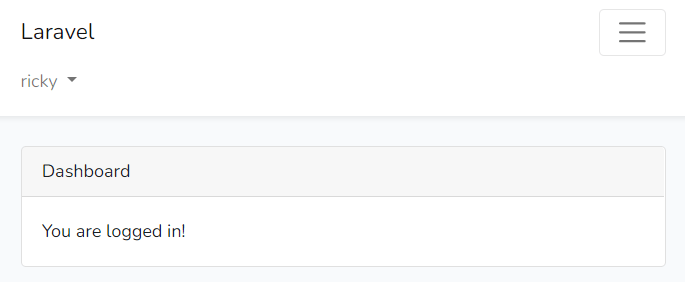
php artisan ui:authVisit your-project-url/register to create a user and log in.
We open the session table in the database

This record is the Session we just established with the website
| id | user_id | ip_address | user_agent | payload | last_activity |
| | | | | | |
| Server Session | Associated User Table ID | Access Address | Terminal Device | Front End Encrypted SessionID | Last Active Time |
Destroy the previous Session
We have generated the user scaffolding, and open the app/Http/Controllers/Auth/LoginController.php file.
The login function of Laravel depends on the AuthenticatesUsers Trait.
// LoginController.php
class LoginController extends Controller
{
...
  use AuthenticatesUsers; // Turn on this trait
...
Let’s open this file and look down and find the authenticated method
/**
* The user has been authenticated.
*
* @param \Illuminate\Http\Request $request
* @param mixed $user
* @return mixed
*/
protected function authenticated(Request $request, $user)
{
//
}
The trigger node of this method is After the user is authorized successfully, before writing to the Session, then we can use it to destroy all the Session before the logged-in user.
Copy it, then go back to the LoginController file, and overwrite the authenticated method with our own business logic.
protected function authenticated(Request $request, $user)
{
DB::table('sessions')->where('user_id', $user->id)->delete()
}
We can simply and rudely delete the user's previous login Session, but this does not collect user information, and it makes no sense to create a Session table.
In fact, you only need to modify the id stored in the session table so that it does not match the SessionID transmitted by the front end, which means that the session is invalid, so let's modify it slightly
protected function authenticated(Request $request, $user)
{
DB::table('sessions')->where('user_id', $user->id)
->update([
'id' => DB::raw("concat('OUTMAN_', user_id,'_', id)"),
'user_id' => null,
]);
}
Add the prefix of id to OUTMAN and splicing the user_id field, so that the Session is invalidated and the user information is retained.
You may wonder, since we only update the data, why not use soft delete directly?
In fact, the sessions table does not only store the session of the logged-in user. The session is already established at the moment the user visits the website. If the user is not logged in, then this record is actually meaningless to us.
Back to the browser, open a Window A, and then use the shortcut key Ctrl+Shift+N to create a seamless Window B to achieve the purpose of Session isolation.
Log in to the account in Window A first, then log in to the same account in Window B, and then return to Window A, press F5 to refresh the page, and find that the user of Window A has logged out. It means that our code just now takes effect, because when Window B logged in, a query was executed and the session of Window A was updated.
Let's take a look at the sessions table again, there is already an invalid Session.

News push
Send real-time messages
Next, let's realize that when a user's account is logged in elsewhere, a real-time message is sent to the currently logged-in user, telling him that his account is logged in on another device.
Back-end components: laravel-websockets, pusher
let us start!
First, complete the back-end function, open the .env file
PUSHER_APP_ID=123123
PUSHER_APP_KEY=321321
PUSHER_APP_SECRET=secret
PUSHER_APP_CLUSTER=mt1
These are the configuration of pusher, fill in at will, just make sure it is consistent with the laravel-echo of the front end. If there are multiple sites on a server, you need to ensure the uniqueness of id and key.
Install components
laravel-websocets depends on the 1.5 version of the guzzlehttp/psr7 component, but its latest version has reached 2.1, and guzzlehttp also relies on it, and the minimum requirement is 1.8. The two conflicts, so it can’t Use the composer require command to install directly.
Similarly, pusher also needs to use the 3.0 version.
Open composer.json
"require": {
        ...
        "guzzlehttp/psr7": "^1.5",
        "beyondcode/laravel-websockets": "^1.12.0",
"pusher/pusher-php-server": "~3.0"
    },
We paste these two components directly, and then execute the command:
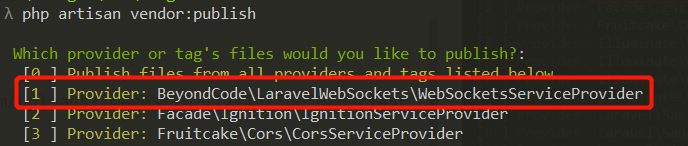
composer updateRelease laravel-websockets
php artisan vendor:publishSelect the serial number corresponding to BeyondCode\LaravelWebSockets\WebSocketsServiceProvider in the list.
The message push function of the Laravel framework uses the pusher third-party API service by default, we use laravel-websocket to intercept the request sent by pusher and forward it to our own server.
Configure websocket
About the configuration of websockets, you can find it in config/websockets.php
Official document: click here
You just need to know where it is, we don't have to customize the configuration.
Then open config/broadcasting.php and modify the request address sent by pusher to our local ip address.
'connections' => [
        'pusher' => [
...
            'options' => [
                'cluster' => env('PUSHER_APP_CLUSTER'),
                'encrypted' => true,
                'host' => '127.0.0.1',
                'port' => 6001,
                'scheme' =>'http'
            ],
        ],
Ok, the component installation is complete, execute the command to start the websocket service
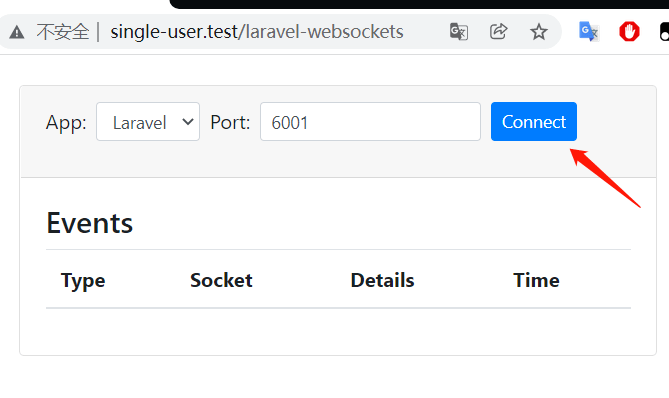
php artisan websockets:serveOpen your-project/laravel-websockets to see the console, and click Connect to see the details of all sent messages.
forward news
Let's create an event, which is triggered every time the user logs in successfully, and executes the command:
php artisan make:event UserAuthenticatedEventRemember the authenticated method mentioned in the previous section? We trigger events in this method:
public function authenticated(Request $request, $user)
{
DB::table('sessions')->where('user_id', $user->id)
->update([
'id' => DB::raw("concat('OUTMAN_', user_id,'_', id)"),
'user_id' => null
]);
// Trigger a broadcast event and send a message to the logged-in user
broadcast(new UserAuthenticatedEvent($user));
}
Since it is a broadcast event, you need to implement the broadcast interface, open UserAuthenticatedEvent.php
<?php

namespace App\Events;

use App\Models\User;
use Illuminate\Broadcasting\Channel;
use Illuminate\Broadcasting\InteractsWithSockets;
use Illuminate\Contracts\Broadcasting\ShouldBroadcast;
use Illuminate\Foundation\Events\Dispatchable;
use Illuminate\Queue\SerializesModels;

class UserAuthenticatedEvent implements ShouldBroadcast
{
  use Dispatchable, InteractsWithSockets, SerializesModels;

  public $user;

  public function __construct(User $user)
  {
  $this->user = $user;
  }

  public function broadcastOn()
  {
  // Send channel splicing user_id to avoid interference
return new Channel('outman-user-'. $this->user->id);
  }
}
Go back to the homepage and log in again, and then check storage/logs/laravel.log
[2021-12-13 13:34:43] local.INFO: Broadcasting [App\Events\UserAuthenticatedEvent] on channels [outman-user-1] with payload:
{
    "user": {
        "id": 1,
        "name": "ricky",
        "email": "ricky@me.com",
        "email_verified_at": null,
        "created_at": "2021-12-12T14:03:00.000000Z",
        "updated_at": "2021-12-12T14:03:00.000000Z"
    },
    "socket": null
}
The message has been sent, because our current BROADCAST_DRIVER is still log, so it is printed in the log.
Complete monitoring
The front end displays push messages in real time
In the previous section, we have implemented the push of messages, and now we need the front-end to receive and display them to users in real time. This section is also the last section of the tutorial. It will be completed soon, come on.
let us start!
Installation dependencies
Front-end dependent components: laravel-echo, pusher-js
Excuting an order:
npm install laravel-echo pusher-js --saveWriting components
Let's write a prompt box to remind users
Create a new OutmanAlert.vue in the resources/js/components folder
<template>
    <div class="container" v-if="alerting">
        <div class="col-md-8">
            <div class="alert alert-danger" role="alert">
                Your account has been logged in elsewhere!
            </div>
        </div>
    </div>
</template>

<script>
export default {
    data() {
        return {
            alerting: true // Use the alerting variable to control the display and hide of the component
        }
    },
    mounted() {
        console.log('Component mounted.')
    }
}
</script>
Register this component and open resources/js/app.js
window.Vue = require('vue').default;

...

Vue.component('outman-alert', require('./components/OutmanAlert.vue').default);
Reference this component and open resources/views/layouts/app.blade.php
<main class="py-4">
<outman-alert></outman-alert>
@yield('content')
</main>
First compile it to see if the display is normal
npm run watch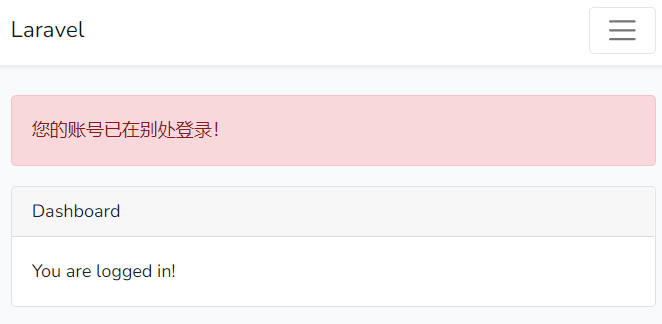
Add front-end monitoring
The component has been working normally, let's add a listener.
First open the .env file and change BROADCAST_DRIVER
...
DB_PASSWORD=

BROADCAST_DRIVER=pusher
...
Then open resources/js/bootstrap.js and open the comment at the bottom
import Echo from'laravel-echo';

window.Pusher = require('pusher-js');

window.Echo = new Echo({
    broadcaster:'pusher',
    key: '321321', // here is the same as .env PUSHER_APP_KEY
    wsHost: window.location.hostname,
    wsPort: 6001,
    forceTLS: false,
    disableStats: true,
});
Finally, go back to the OutmanAlert.vue component and add event listeners
<script>
export default {
    props: [
        'id'
    ],
    data() {
        return {
            alerting: false
        }
    },
    mounted() {
        window.Echo.channel('outman-user-' + this.id).listen('UserAuthenticatedEvent', () => {
            this.alerting = true
            setTimeout(() => {
                window.location ='/login'
            }, 3000)
        })
    }
}
</script>
After the component is loaded, listen to the channel outman-user-user_id, if a message is sent, change the alerting variable to true, and wait 3 seconds before jumping to the login address.
But vue can't read user_id, we need to pass it in the blade template.
Go back to the file referring to it resources/views/layout/app.blade.php
<main class="py-4">
@if(auth()->check())
<outman-alert id="{{auth()->id()}}"></outman-alert>
@endif
@yield('content')
</main>
At this point, all functions have been completed, execute compilation
npm run devIf you encounter the following error, ignore it, pusher's self-check, but we have forwarded its message to the local websocket service.
Notifications are disabled
Reason: DisabledForApplication Please make sure that the app id is set correctly.
Command Line: d:\laragon\www\single-user-login\node_modules\node-notifier\vendor\snoreToast\snoretoast-x64.exe -appID "Laravel Mix" -pipeName \\.\pipe\notifierPipe-a7662603-67a6 -45de-9ef2-aa40181d3f1a -pd:\laragon\www\single-user-login\node_modules\laravel-mix\icons\laravel.png -m "Build successful" -t "Laravel Mix"
Open the browser to test:


Post comment 取消回复