1. Uninstall the NVIDIA driver
1. If dm is lightdm, you need to switch to gdm3
# Or use sudo /etc/init.d/lightdm stop
sudo service lightdm stop

sudo dpkg-reconfigure gdm3
2. Uninstall the NVIDIA driver
sudo /usr/bin/nvidia-uninstallIf not found, use the following command to uninstall
sudo apt-get install autoremove --purge nvidia*3. If you have installed cuda, uninstall it
Uninstall command: sudo /usr/local/cuda-x-x/bin/*uninstall*
-cuda-x-x: Please replace according to the name in the specific directory
-*uninstall*: Please replace according to the name in the specific directory
cudnn uninstall (if installed)
Please uninstall according to the location where
cudnnis installed
sudo rm -rf /usr/local/cuda/include/cudnn.h
sudo rm -rf /usr/local/cuda/lib64/libcudnn*
2. Install NVIDIA driver + CUDA 11.4
When writing the article, these two items have been concentrated in one installation package, and the versions have been matched
Download link: https://developer.nvidia.com/cuda-downloads
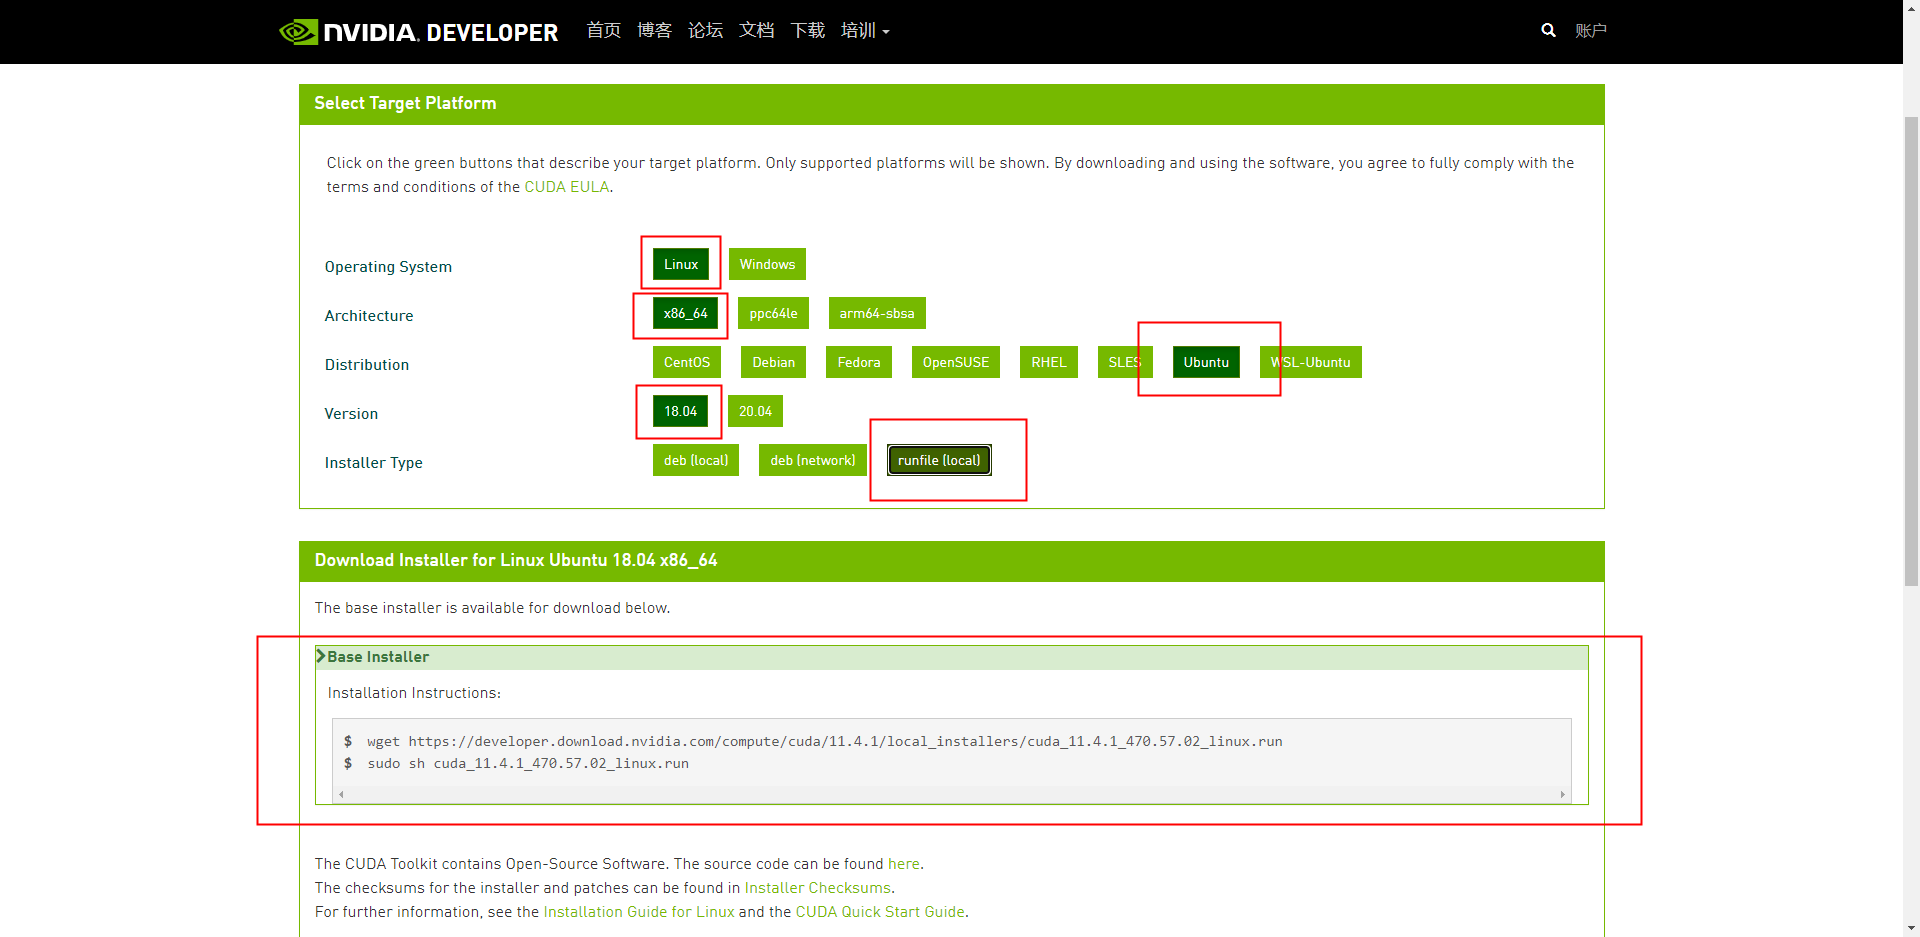
Download and install commands:
wget https://developer.download.nvidia.com/compute/cuda/11.4.1/local_installers/cuda_11.4.1_470.57.02_linux.run
sudo sh cuda_11.4.1_470.57.02_linux.run
Set environment variables
gedit ~/.bashrcAdd the following environment variables (pay attention to modify to your own path)
export PATH=/usr/local/cuda-11.4/bin${PATH:+:${PATH}}
export LD_LIBRARY_PATH=/usr/local/cuda-11.4/lib64${LD_LIBRARY_PATH:+:${LD_LIBRARY_PATH}}
Save and exit, terminal run
source ~/.bashrcCheck if it is correct
nvcc -V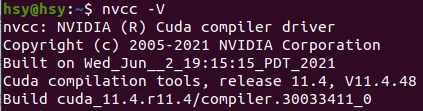
3. cuDNN Installation
Download link: https://developer.nvidia.com/rdp/cudnn-download (account registration required)
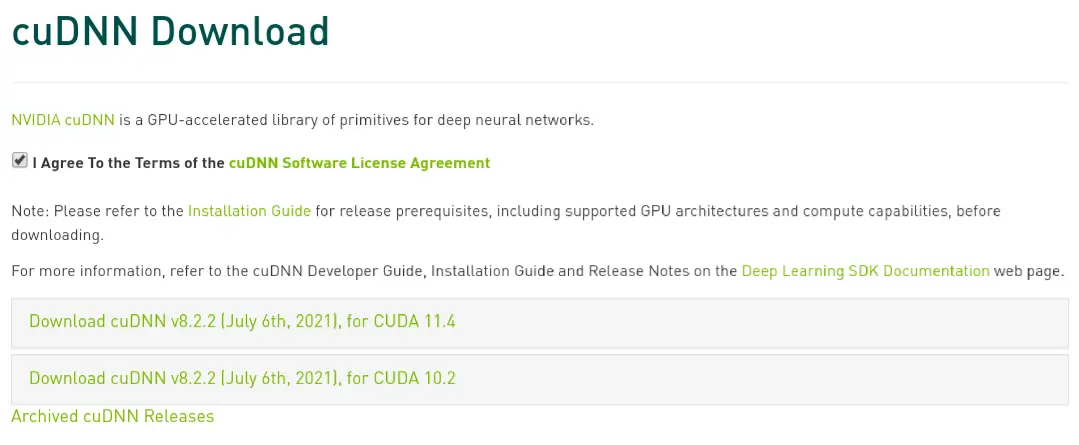
Choose your own version, mine is CUDA11
Download three files to local
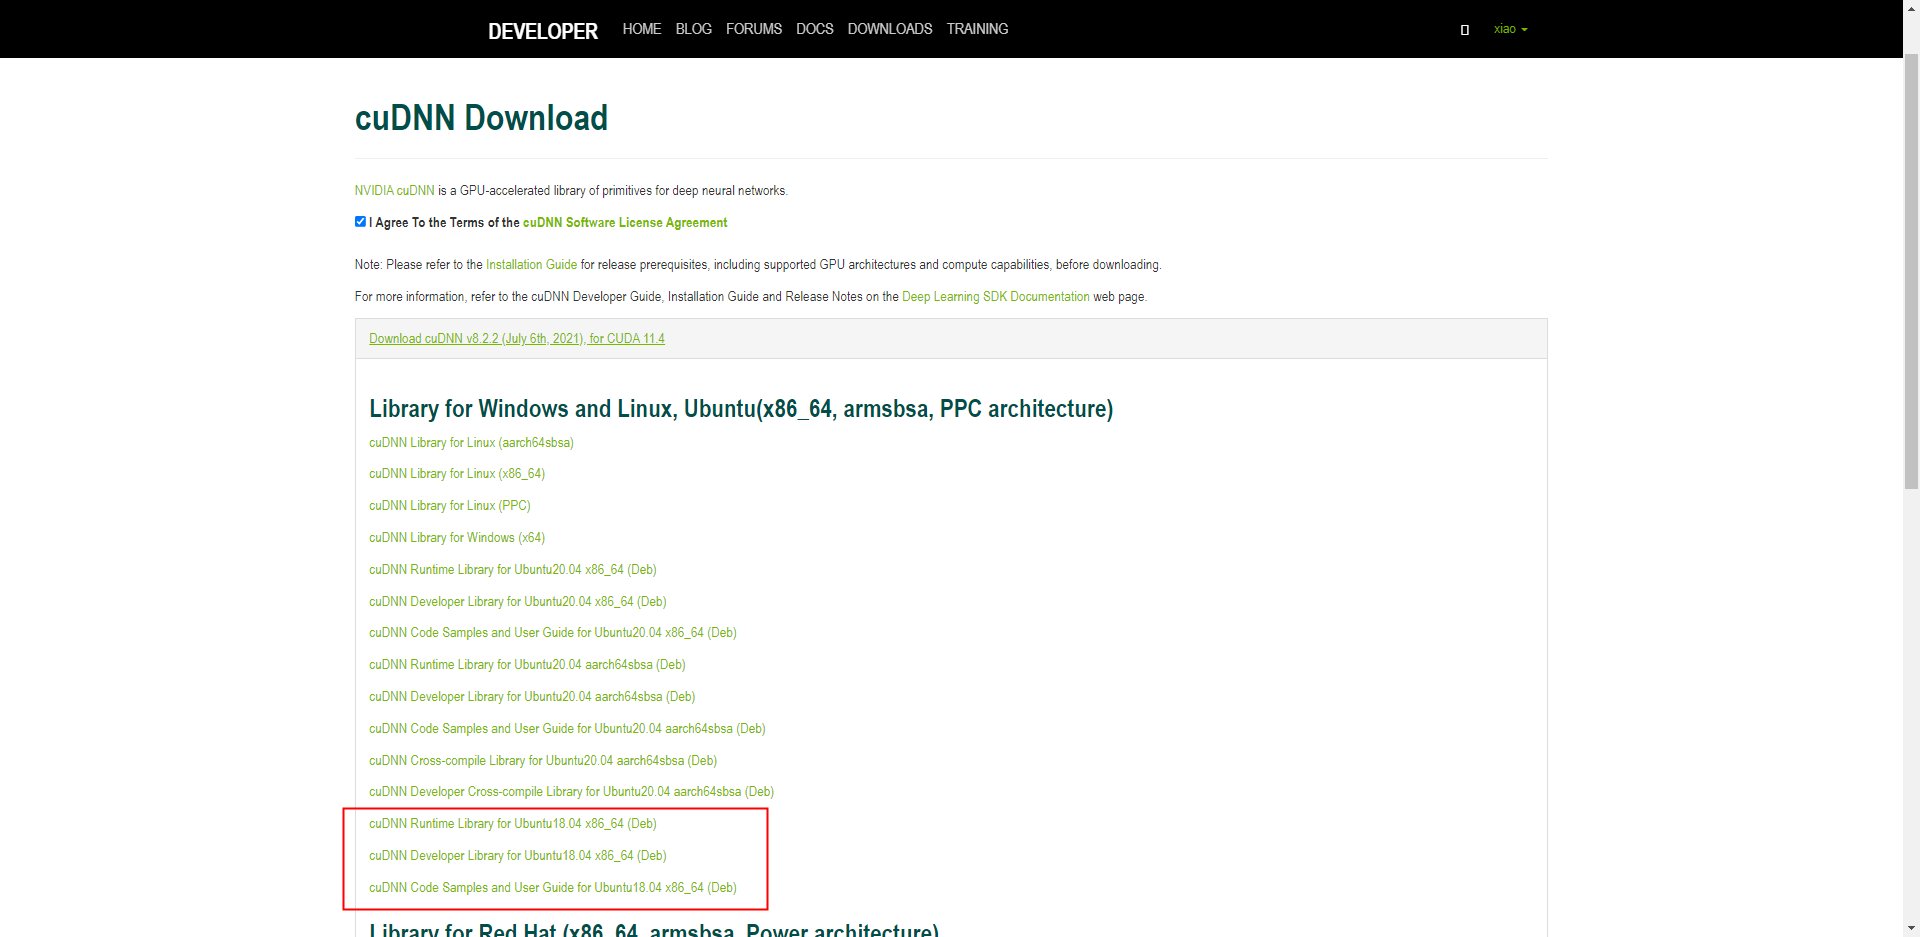
Install
sudo dpkg -i libcudnn8_8.2.2.26-1+cuda11.4_amd64.deb
sudo dpkg -i libcudnn8-dev_8.2.2.26-1+cuda11.4_amd64.deb
sudo dpkg -i libcudnn8-samples_8.2.2.26-1+cuda11.4_amd64.deb
sudo apt-get install libfreeimage3 libfreeimage-dev
an examination
cp -r /usr/src/cudnn_samples_v8/ $HOME
cd $HOME/cudnn_samples_v8/mnistCUDNN
make clean && make
./mnistCUDNN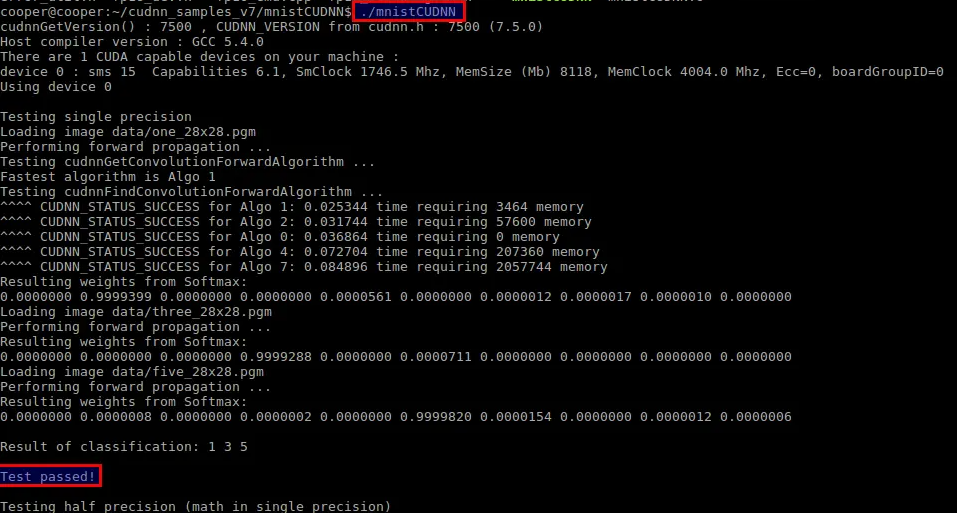
4. Anaconda installation
Retrieve the latest version of Anaconda
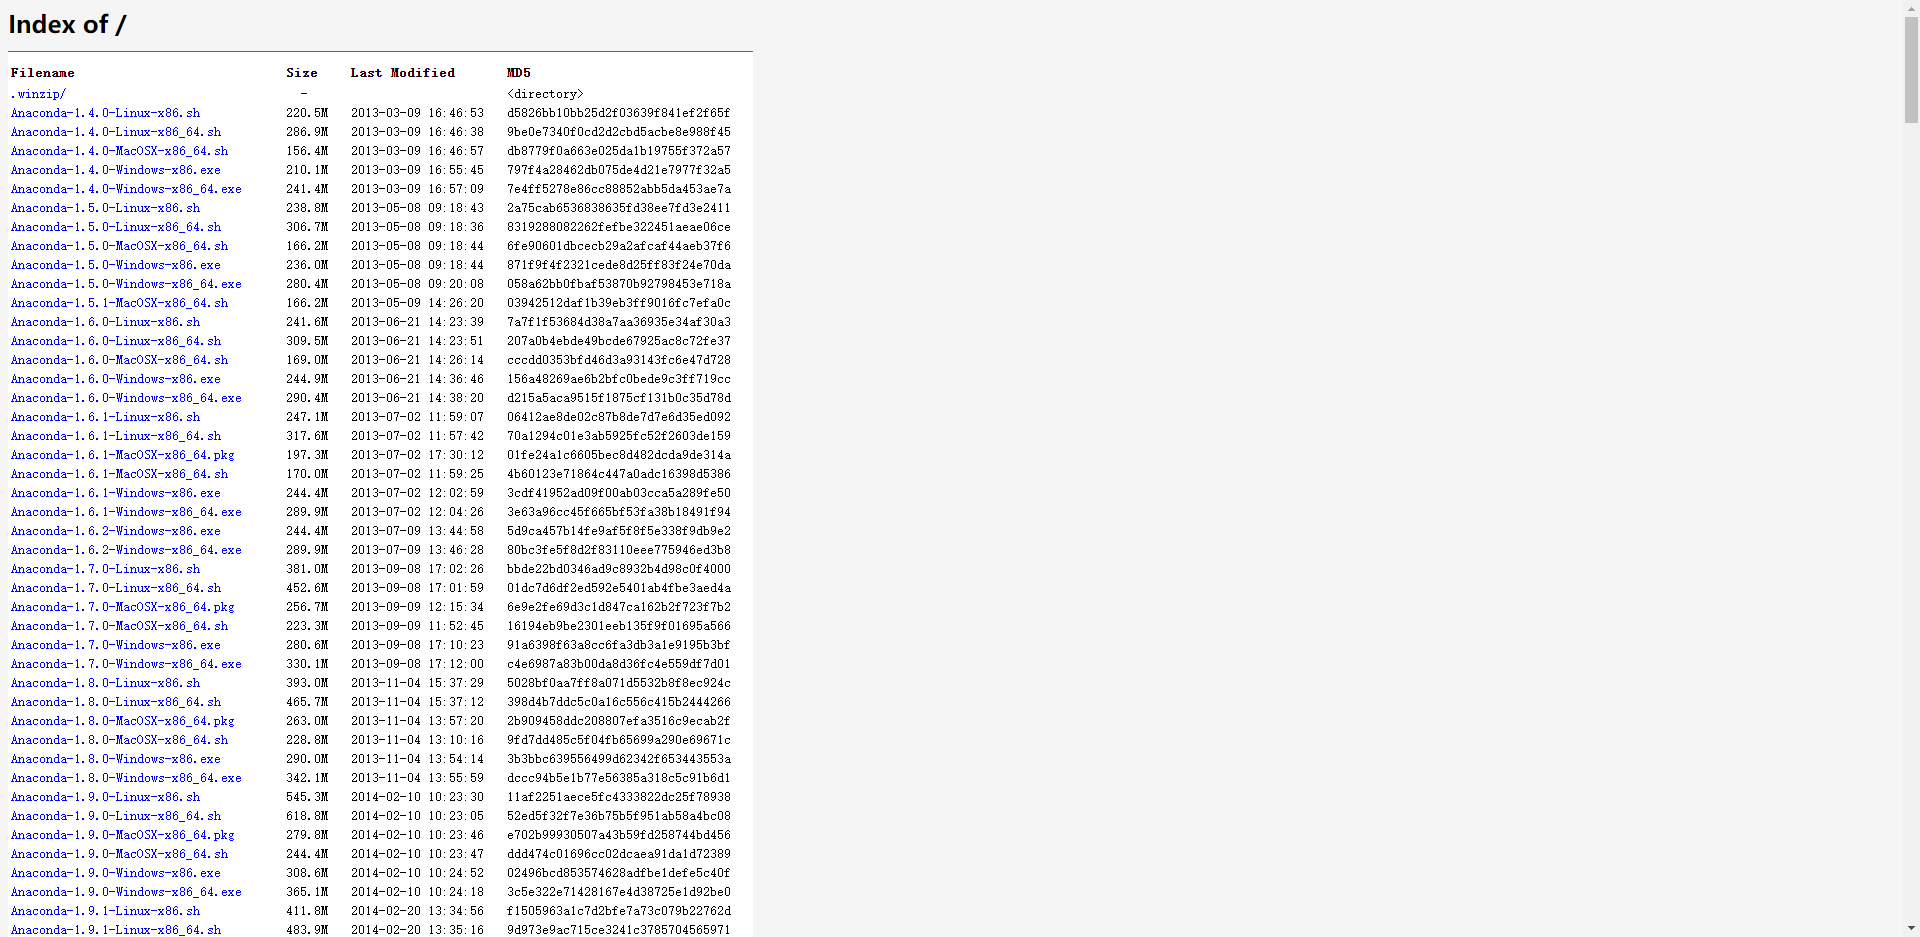
From a web browser, go to the Anaconda Distribution page, available through the following link:
https://repo.anaconda.com/archive/Find the latest Linux version and copy the installer bash script.
Download Anaconda Bash script
Log in to your Ubuntu 18.04 server as a sudo non-root user, enter the /tmp directory and use curl to download the link you copied from the Anaconda website:
cd /tmp
curl -O https://repo.anaconda.com/archive/Anaconda3-2019.03-Linux-x86_64.sh
Run the installation script
sudo sh Anaconda3-2019.03-Linux-x86_64.shYou will receive the following output to view the license agreement, please press ENTER until you reach the end.
Welcome to Anaconda3 2019.03

In order to continue the installation process, please review the license
agreement.
Please, press ENTER to continue
>>>
...
Do you approve the license terms? [yes|no]
When you reach the end of the license, type yes as long as you agree to the license to complete the installation.
finish installation
Once you agree to the license, you will be prompted to choose an installation location. You can press ENTER to accept the default location, or specify a different location
Anaconda3 will now be installed into this location:
/home/sammy/anaconda3

  -Press ENTER to confirm the location
  -Press CTRL-C to abort the installation
  -Or specify a different location below

[/home/sammy/anaconda3] >>>
At this point, the installation will continue. Please note that the installation process takes some time
Choose an option
After the installation is complete, you will receive the following output:
installation finished.
Do you wish the installer to prepend the Anaconda3 install location
to PATH in your /home/sammy/.bashrc? [yes|no]
[no] >>>
It is recommended that you type yes to use the conda command
Activate the installation
source ~/.bashrcCheck if the installation is successful
conda listSet Anaconda environment
You can use the conda create command to create an Anaconda environment. For example, my_env can use the following command to create a Python 3 environment named
sudo conda create --name my_env python=3
Post comment 取消回复