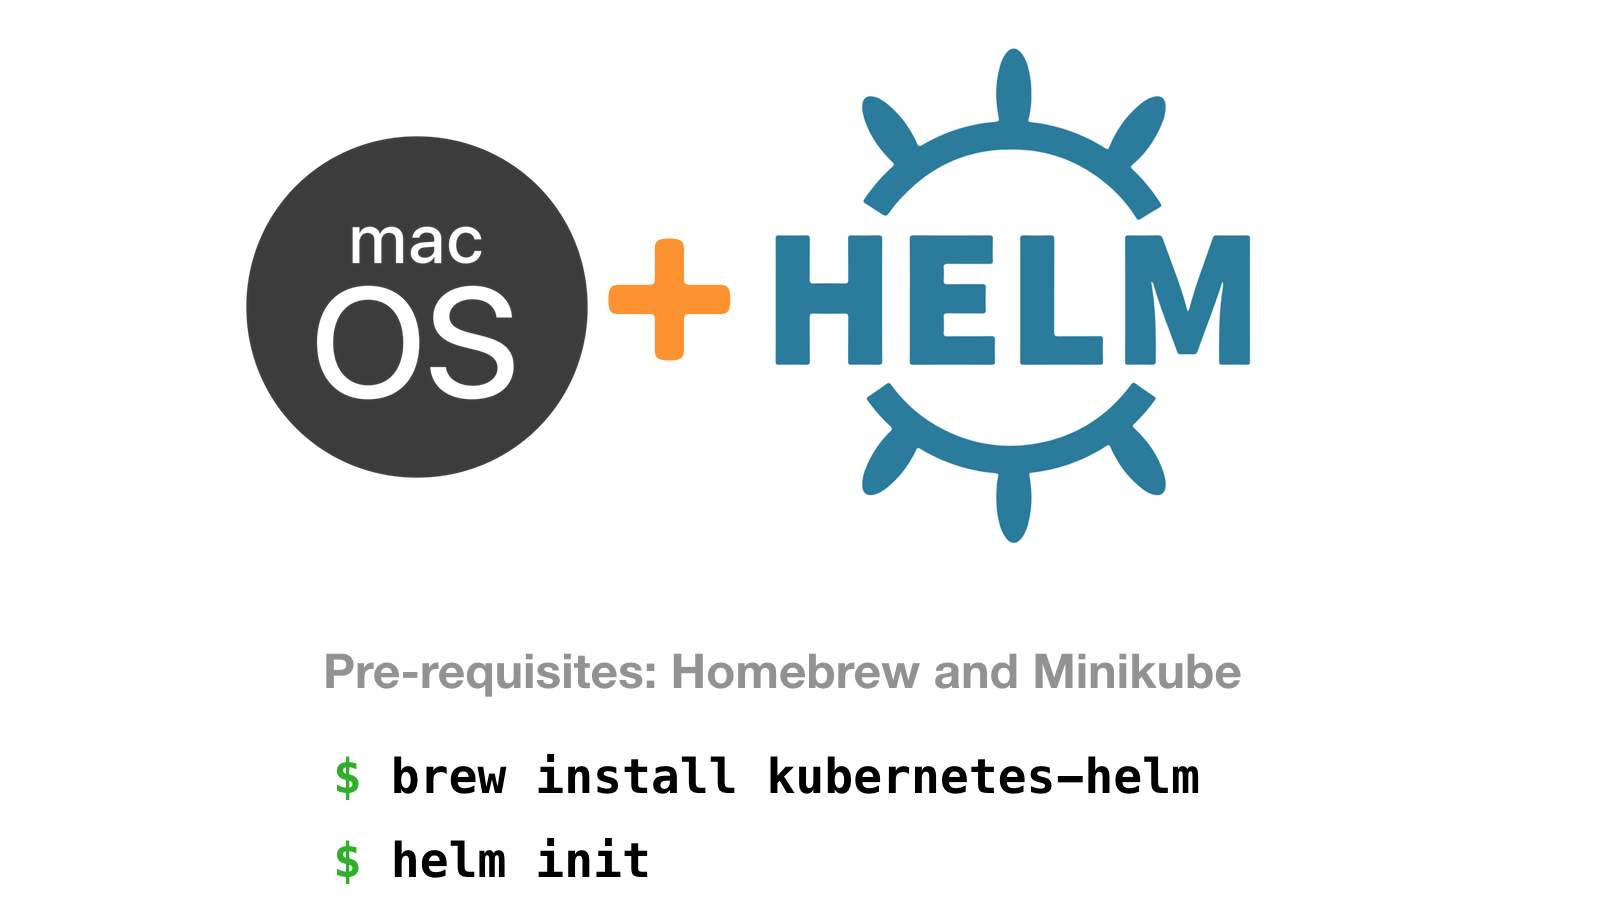
如何在 Mac 上为 Kubernetes 安装 Helm
以下是在运行 macOS Mojave 或 High Sierra 的 Mac 上安装和初始化 Helm 所需的步骤。
1.安装Homebrew
通过运行检查您是否安装了 Homebrew brew --version。如果你得到一个 Homebrew 版本号,你就可以开始了
如果您没有 Homebrew,请在您的终端中运行它
/usr/bin/ruby -e "$(curl -fsSL https://raw.githubusercontent.com/Homebrew/install/master/install)"2. 用 Homebrew 安装 Helm
运行以下 Homebrew 命令以在本地 macOS 操作系统上安装 Helm。
brew install kubernetes-helm
3. 初始化 Helm
最后一步是初始化 Helm 命令行工具并将 Helm 服务器 (Tiller) 安装到您的 Kubernetes 集群(在我们的例子中是 Minikube)。
运行helm init,你会看到类似下面的内容。
$ helm init
Creating /Users/matthewpalmer/.helm
Creating /Users/matthewpalmer/.helm/repository
Creating /Users/matthewpalmer/.helm/repository/cache
Creating /Users/matthewpalmer/.helm/repository/local
Creating /Users/matthewpalmer/.helm/plugins
Creating /Users/matthewpalmer/.helm/starters
Creating /Users/matthewpalmer/.helm/cache/archive
Creating /Users/matthewpalmer/.helm/repository/repositories.yaml
Adding stable repo with URL: https://kubernetes-charts.storage.googleapis.com
Adding local repo with URL: http://127.0.0.1:8879/charts
$HELM_HOME has been configured at /Users/matthewpalmer/.helm.

Tiller (the Helm server-side component) has been installed into your Kubernetes Cluster.

Please note: by default, Tiller is deployed with an insecure 'allow unauthenticated users' policy.
To prevent this, run `helm init` with the --tiller-tls-verify flag.
For more information on securing your installation see: https://docs.helm.sh/using_helm/#securing-your-helm-installation
Happy Helming!
完毕!您已在 Mac 上成功安装 Helm。
您现在可以使用 Helm 轻松打包和部署您的 Kubernetes 应用程序。您将获得简单的回滚和出色的发布管理。


发表评论 取消回复